
Previous post: Day 0 | L3 Kickoff: A Short History of Harnesses, From Your Batch Script to Pi and DeepSeek Harness. Make sure you understand the Harness concept from Day 0 and the API calls from L2 Days 0-3, and let’s start dismantling the loop.
This is an L3 exercise post. Upcoming navigation:
Day Type Topic Day 2 Core Constraints and interception: hooks and permissions Day 3 Exercise Adding an approval gate with hooks Day 4 Core Extensions vs plugins: Pi vs DSH Day 5 Exercise Writing a Pi extension Day 6 Exercise Composing DSH Cordis plugin modes Day 7 Core Agent Teams and task DAGs Day 8 Core Memory and learning: Hermes, Nowledge Mem, EvoMap Day 9 Exercise Designing your own skill system Day 10 Wrap-up L3 graduation check
Why This Is an Exercise Post
The previous post traced the evolution of Harnesses. From Anthropic’s controlled experiment to the Pi and DeepSeek Harness routes, we learned one thing. Beyond the model, that guiding structure is what actually decides success.
We have seen the concepts and the effects. Now it is our turn to get our hands dirty, because that is the only way to really understand. This post is exactly that kind of hands-dirty exercise: pop the engine hood, and let’s watch how the harness’s engine turns.
The Core of Top Agents Fits in a Hundred Lines
When you use Claude Code, you probably never asked what happens behind the scenes. You send a prompt. It reads files, runs commands, edits code, and hands you a result. The whole process feels like a black box.
This post opens that box, and do not worry if you cannot follow: the core logic is not much longer than the batch script we wrote in L2 Day 4.
miniharness Teardown: 120 Lines of Core Code
Today’s teardown target is tljcpa/miniharness, a minimal Harness designed for empirical research[1]. It is tiny in scale but complete in structure.
The core agent.py contains about 240 lines including docstrings, of which roughly 120 lines are actual logic. It ships with seven “plain” tools: read_file, write_file, edit_file, list_dir, run_command, grep, finish[1]. No MCP. No planning mode. No sub-agent.
The miniharness author distilled a combination formula: Agent = Provider × ToolFormat × ToolRegistry × Context × UI. Provider is the model interface. ToolFormat is the tool call format. ToolRegistry is the tool registry. Context is context management. UI is the user interface. Free combination across these five dimensions builds different Agents.
When we break down the loop section by section, every line maps directly to a concept we have already covered:
def agent_loop(context, provider, tools):
    while True:
        response = provider.chat(context)         # call the model once
        tool_calls = response.tool_calls           # get the tool call list

        if not tool_calls:                         # exit condition: no tool calls
            return finalize(context)               # exit via finish or end_turn

        for call in tool_calls:
            name = call.name
            args = call.arguments
            result = tools[name].execute(**args)   # run the tool, catch exceptions

            context.append({                       # append the result to context
                "role": "tool",
                "tool_call_id": call.id,
                "content": result.output,
                "is_error": result.is_error,
            })
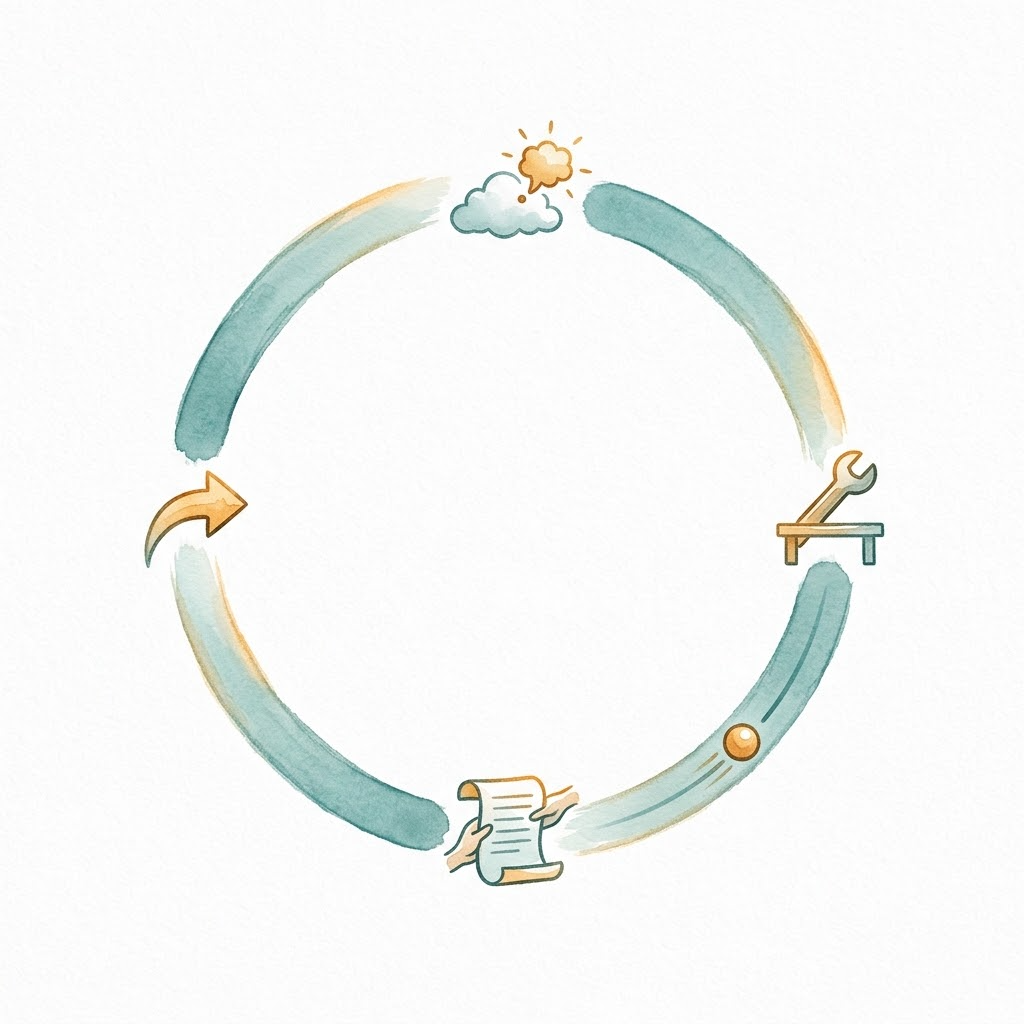
provider.chat(context) is the L2 API call. if not tool_calls is the exit condition. context.append(result) is context accumulation. Nothing here is a new concept. It is just what we learned in L2, renamed and placed inside a loop.
The remaining thousands of lines are structure and constraints. Those are for the lessons ahead.
Three Counterintuitive Findings
The miniharness repo hosts an ablation experiment: fixed model (DeepSeek-Chat), fixed task (write FizzBuzz and verify), only swapping tool call format (native_json / xml / prompt), one run per format[1]. The results hold a few counterintuitive findings.
Finding one: The loop can self-correct.
Intuition says self-recovery is a feature the harness implements in code: retry logic, error taxonomies, recovery strategies. miniharness has exactly none of those.
In the smoke test (greet.py), the model took five steps, consumed 7,883 tokens, and cost about $0.01. Step 2 hit python: not found (return_code=127). At step 3, the model probed on its own: which python3 || which python. Step 4 switched to python3 and succeeded.
The same recovery pattern appeared a second time in the fizzbuzz ablation. This time the model switched to python3 directly in one step.
The mechanism is clear: ToolRegistry.execute catches all exceptions and appends them to the context with is_error=True alongside the traceback; had these exceptions bubbled up unhandled, the loop would crash immediately and make recovery impossible. Error handling here is a feature of the loop architecture itself. In Day 3 we will expand on the related Back-Pressure mechanism.

Finding two: Harness “success” is not task success.
Intuition says a harness reporting status: OK means the task got done and can be trusted.
All three harness runs rated OK. But reading the trajectories reveals two deviations:
xmlformat: the model exits in two steps but never runs the script, claiming “I know FizzBuzz is right.” The task goes unverified.promptformat: the model runs and verifies output in two steps, but does not callfinishas instructed. It exits via end_turn.- Only
native_jsonformat (four steps) completes fully.
The two deviations differ in both manner and degree. This means a task-level checker sits above the loop. The “review gap” I hit in the Aristotle project is a production-grade version of the same root cause: after understanding that task() sub-sessions run a non-interactive loop, I located the structural defect (full retrospective). The Aristotle four-phase loop (Coordinator → Reflector → Review → Checker) is also a harness, worth a read as extended material if you are interested.
Finding three: Round count drives token consumption.
Intuition says native structured tool calling (native_json) is the proper path and should cost fewer tokens than stuffing XML or text conventions into the prompt. The data runs the other way: native_json at 6,618 tokens over 4 steps versus xml at 3,188 over 2 steps versus prompt at 2,966 over 2 steps, so native_json costs a little over twice either of the other two. The reason for the higher token count is two extra round trips carrying full context; because LLM APIs resend the cumulative conversation history on every request, each additional turn re-sends the entire past context verbatim. Step count impacts cost more than format overhead. The three-run total cost is $0.0041 (12,019 prompt + 753 completion tokens, priced at $0.27/M + $1.1/M)[1].
But here the boundary must be stated clearly. Each experimental group ran only once (n=1). The repo README explicitly states “differences below 2x count as noise.” This “a little over 2x” sits right on the noise line. Also the xml run was an early exit without verification, a confound. If forced to verify, its token consumption might catch up. So the precise wording is “finding,” not “proof.” The repo itself writes “statistically meaningful findings: zero.” All three findings above are single-sample qualitative observations.
But these findings still offer directional inspiration. “Recovery with no recovery code anywhere”: seeing it happen once proves the path exists. “Every extra round resends the full context” is determined by how API billing works. And although one run cannot tell us whether the 2.2x token consumption holds steady, it reminds us that harness design cannot ignore the cost impact of conversation rounds. You can clone the code, run it ten times, and verify for yourself; that is exactly the homework this exercise post assigns. The numbers will fluctuate, but the direction of the judgments behind the three findings will not: suspect the loop structure first when debugging, never trust a harness’s self-reported completion, and when cutting cost, cut steps before trimming format.

Hands-On: Run the Smoke Test
Clone the miniharness repo, set up your API key, and run the smoke test:
git clone https://github.com/tljcpa/miniharness
cd miniharness
uv venv && source .venv/bin/activate
uv pip install -e ".[dev]"
cp .env.example .env   # edit .env, set DEEPSEEK_API_KEY=sk-...
python scripts/smoke_test.py --provider deepseek
The companion teaching script mini_loop.py and its execution instructions live in the code/ subfolder under the article directory (the code/ directory on GitHub), published alongside the blog repository. Clone the repo and run them locally.
Observation checklist:
- How context grows each step: watch the
contextarray append - How tool results feed back: note the
is_errorfield - Where the loop exits: watch for
tool_callsgoing empty
Continuing the recipe-reading metaphor from Day 0: you do not need to write it. The goal is to understand.
Two Directions Forward
If you want to go deeper, consider these two directions:
Read a real product: the Pi core package, finished in one afternoon. Real product loops are not much more complex than this[2].
Build your own: Pi Textbook (pi-textbook), 15 runnable checkpoints. Follow along and you will understand[3].
Extended reading: Thorsten Ball’s guide to building an Agent from scratch in about 200 lines of Go[4], and the Hugging Face smolagents documentation[5]. Two more implementations of the same minimalist philosophy.
Today’s Takeaways
In today’s warm-up session, we covered three key points:
- Explain the miniharness core loop line by line.
- Understand the three experimental findings.
- Context engineering best practice: append new conversation content to the tail of the context (why? Covered fully in Day 3, and it involves the KV cache).
Now that you understand what the loop does, notice that these 120 lines will attempt anything, and real engineering cannot be this unrestrained. Next post, Day 2, we see how Pi builds boundaries around it.